Astronomer is an enterprise framework designed for organization use of Airflow, the leading open-source data workflow orchestration platform. It allows you to deploy and maintain pipelines.
As I was very interested in this product, I tried using it for two weeks. We'll walk through the process of deploying an Airflow pipeline with Astronomer.

My project was to move data from this blog and upload it into Notion (read my previous article on how to upload data to notion). I wanted to keep track of members subscribed to this newsletter, and send a message everyday to a Slack channel that contains the number of daily new members subscribed to the newsletter. So I developed an Airflow pipeline with Python and Bash.
Before deploying my pipeline to Astronomer, I developed it and made sure it was working on my local machine using Docker. If you don’t have Docker installed yet, install it (guide).
Getting Started with Astronomer
Go on Astronomer's trial page and get a free 14-day trial without giving more than your email. You’ll receive an invitation on your email that you’ll have to accept in order to get started.
After logging into your Astronomer account, you'll be prompted to create a workspace. From a workspace, you can manage a collection of Airflow Deployments and a set of users with varying levels of access to those deployments. Note that every workspace you create has a free trial of 14 days.
The next step is downloading the Astronomer CLI. A simple tutorial will appear once you've successfully created a workspace.
After making sure the the astro command works properly on your terminal, you can initialize the work environment on your machine by creating an empty directory and running the following command.
astro dev initThis will create all the directories and files needed by Astronomer in your directory. Then you can put all your dags, includes, and plugins in their respective directories.
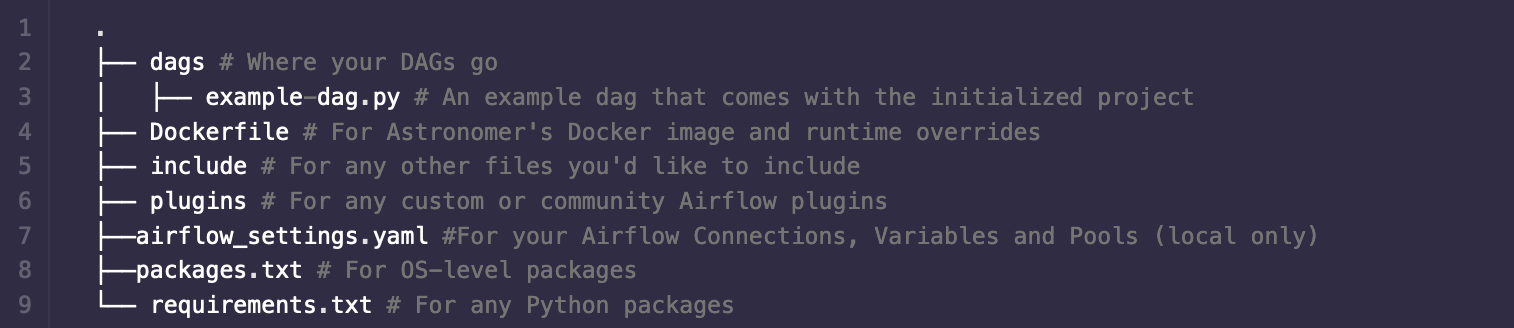
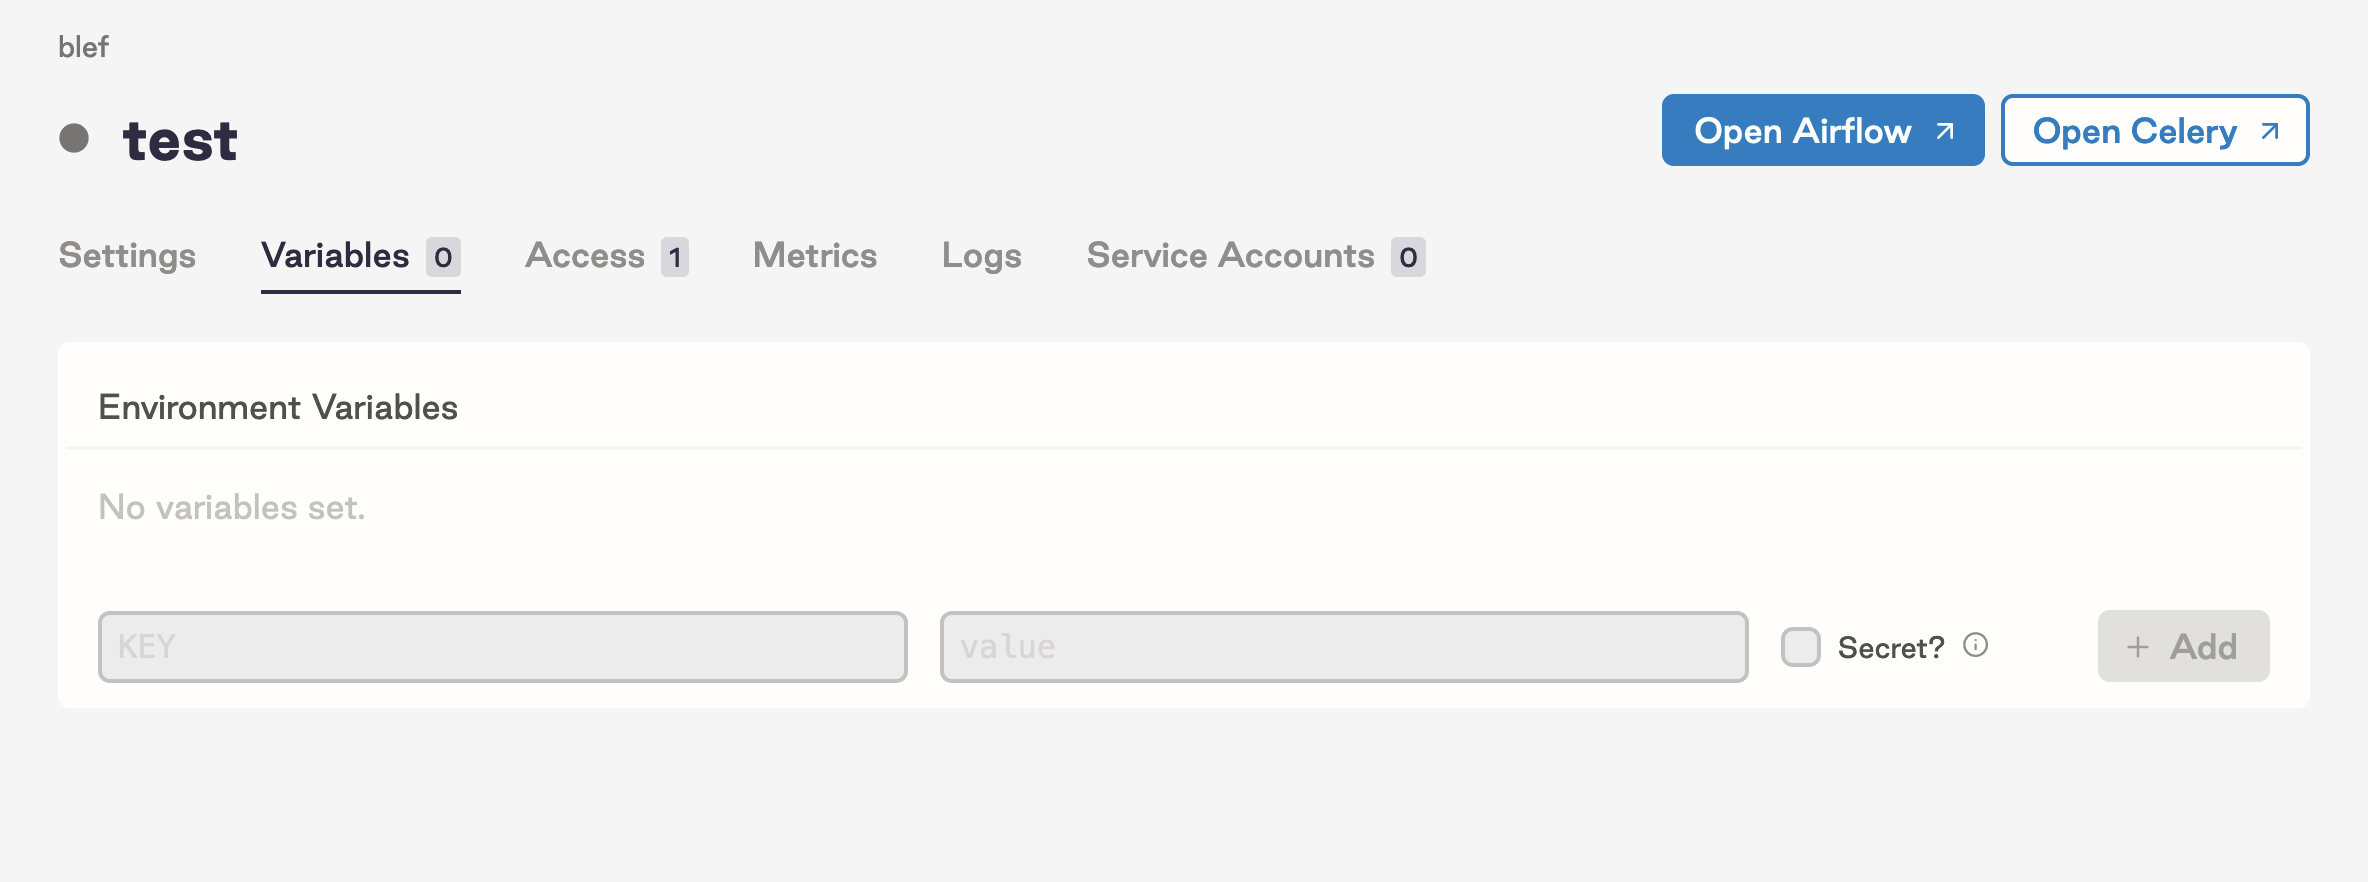
If you have environment variables for your project, you can set them locally in a .env file, or in the Dockerfile generated by the initialization command you run earlier. For secret variables, setting them up in Astronomer’s UI is recommended.
Starting your project locally
To start your project locally, run the command astro dev start on your project directory, (astro dev start --env .env if you want to take into account environment variables). You’ll see a localhost URL, that’s where the Airflow instance will run. By default, Astronomer uses port 8080 for the web server and port 5432 for Postgres. If that doesn’t suit you, you can change it via the .astro/config.yaml file (example here).
To stop running your project on localhost, simply run astro dev stop.
Deploying to Astronomer
Astronomer’s purpose is to help data engineers deploy pipelines and maintain them easily. We’ll now deploy our project to Astronomer and see how it turns out.
Before anything, login to Astronomer with this command astro auth login gcp0001.us-east4.astronomer.io. You'll be prompted to enter your email adress and password.
Setting up the Docker image (tutorial here) with airflow version, environment variables and bash commands to run at start has to be done before deploying to Astronomer. Then you can run the command astro deploy in your project directory. If you have more than once active workspace, you can switch workspaces by using the command astro workspace switch and selecting the right workspace.
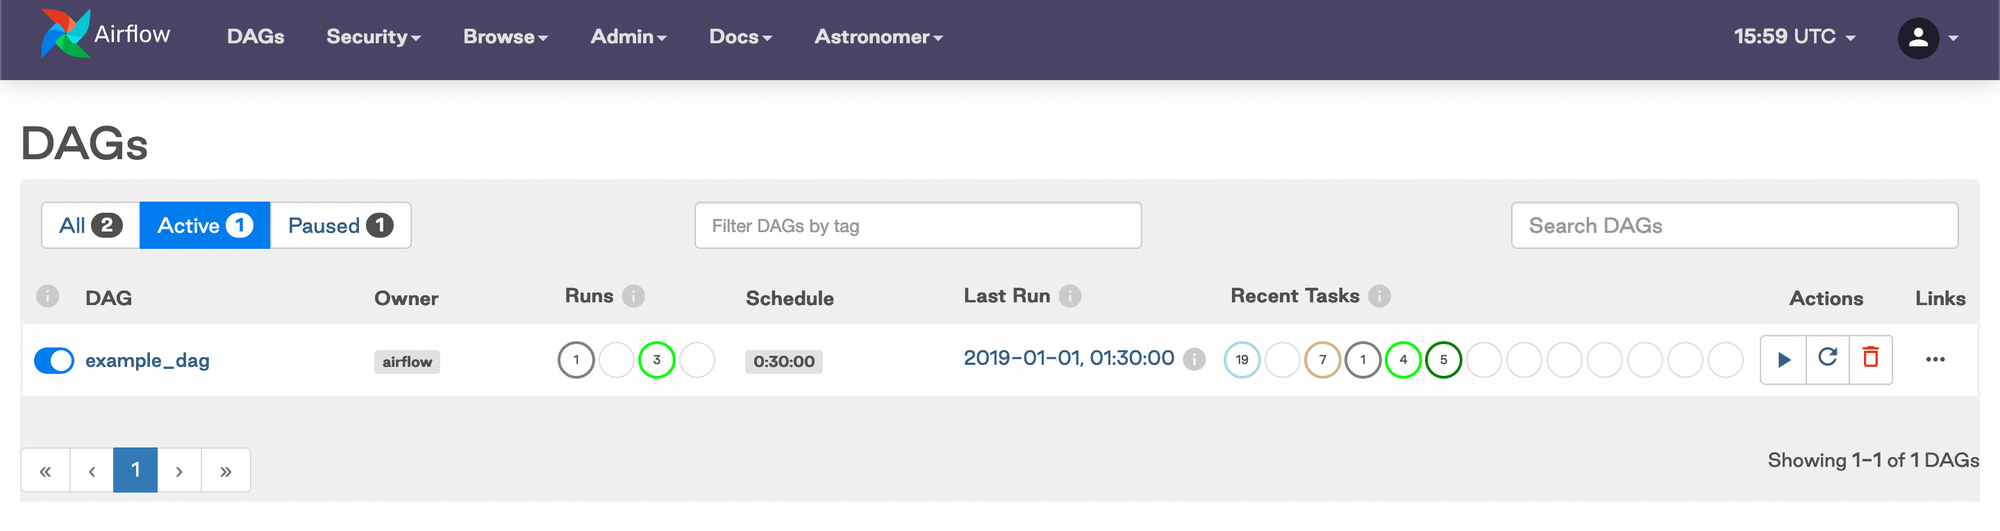
On Astronomer's UI, wait for the deployment to finish then open Airflow and that's it ! You can now trigger your DAGs.
Additionally, you can deploy to Astronomer via CI/CD using Github or other version control tools, learn more here.
Problems I encountered during this process
Astronomer doesn't support Buildkit
If buildkit is enabeled on Docker, Astronomer won't launch properly. You'll get the following error : 'buildkit not supported by daemon Error'. To fix this, go to Docker > Preferences > Docker Engine and set buildkit to false.
Issues with Astronomer and Mac M1
Astronomer CLI installation might fail if you're using a Mac with M1 chip, as it is not yet supported by Astronomer. See this post for help.
Problem reading secret environment variables
Storing secret environment variables in Astronomer might cause some issues : Astronomer stores secret variables in all CAPS. This might work if you’re storing passwords in all CAPS or emails but from my experience, it doesn’t work with API tokens and URLs. I simply unchecked the “secret” option on my variables to solve this problem, even if this is not a sustainable solution in my opinion.
You're deploying your project to a US based server
Astronomer Cloud (the trial version) hosts you DAG in a server located in the US. As far as I researched, I didn't find any way to switch servers (I was looking for an EU server). This might be problematic if you're dealing with data subjected to GDPR. If you want to know more about Astronomer Entreprise hosting options, go here.
Can't pass files from one task to another
Every task on your DAG runs on a different pod even if you are on Local Executor, so if you're passing files from a task to another, you might consider using an external bucket (S3 or GCS).
Global Opinion
According to Astronomer's website, Astronomer is supposed to make data engineers' work smoother and easier. While it is relatively easy, I am personally not convinced that Astronomer helps more than other platforms. The main pain point I see with this product is the lack of log files related to the way Astronomer works and the lack of configuration possible in the UI.
Edit : Astronomer redirected the 14 days free trial page to their standard trial page (after reading this article maybe ?)