We all love maps. Without maps our life would be harder and less funny. This post will walk you through deploying a open-source tile server to serve maps in your applications. If you are down this way this is probably because you want to get away from Google Maps or Mapbox when it comes to maps but you also want nice looking maps and not the default OpenStreetMap one's.
How do maps work?
Do you know how web maps work? Everyone is using map apps, but few people knows what's really behind. If you already know you can skip to the next part.
Originally maps were just pre-generated images just put together. These images were computed at many different zoom level of a squared world. So let's imagine I want to develop blef maps I just need to generated an image for each z (zoom) and each x/y (coordinates). In order to have a finite number of images I'll only take z integers between 0 and 20, where 0 is the world and 20 a building level and rounded x/y depending on the zoom level to keep small image sizes.
If we consider the decent zoom level — which is often 16 — it means we need to generate around 6 billion images. This is quite a job, and this is only the generation we don't speak about the storage, the access and the serving of these images to have a great experience while browsing the world.
The web has evolved, so have maps. The main issue with image was the static nature of them. A PNG image was generated with a specific style and so a new style meant a full generation. So we invented the vector map tiles. The vector object will contain the shape and all the associated information.
Vectors maps unlocked a lot of new capabilities: dynamic styling, speed and better interactions. As we only manipulate matrixes the style can be dynamic and while everything is rendered on the frontend network data is smaller.
What will we do
In order to deploy our own tile server we will use different pieces:
- First, mbtiles — this is a file format that will contain your tilesets. Technically mbtiles are a SQLite database. Tilesets can be either raster (an image) or a vector (matrix). Vector are often smaller and more customisable because it contains shapes rather than a PNG image of the map.
- tileserver-gl — This is an open-source tileserver project that uses OpenGL, Open Graphics Library, to render the tiles.
- A style — this is the magic here, a style is a JSON configuration file that contains all the styling information of your map rendering.
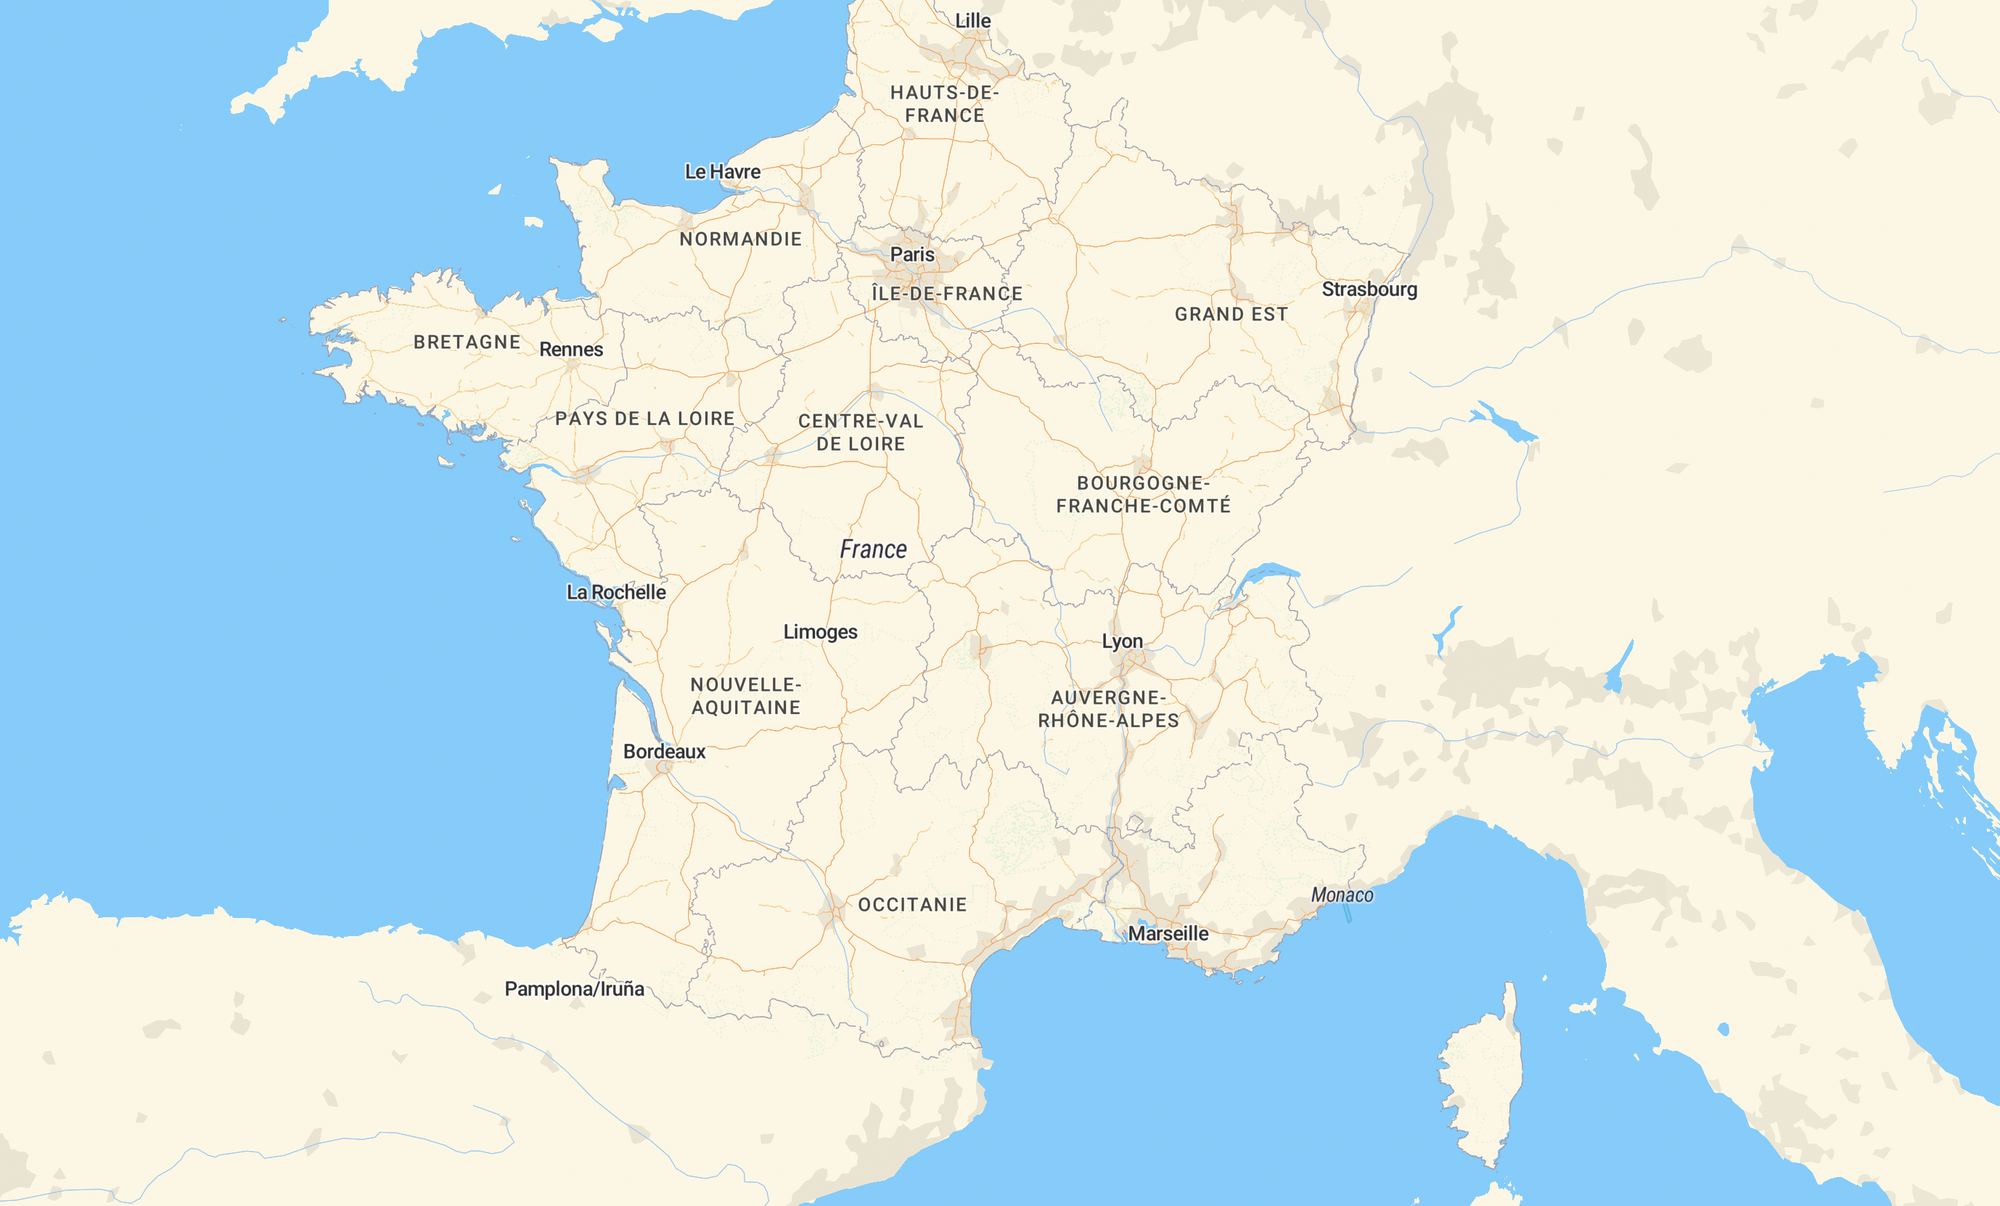
For this post I will create a France tile server. But it'll work for any part of the world if you find the good mbtiles files. To be honest it could be the hardest part of this tutorial.
Let's put everything together
Before doing anything create mandatory folders for your tile server and change directory (cd).
mkdir my-tile-server
cd my-tile-server
mkdir fonts sprites styles mbtilesFind the mbtiles files
As I just said, this is maybe the hardest part. You'll need to find a good source of mbtiles data because your map generation will totally relies on it. On my side I've found 2 different sources for France:
- data.gouv.fr — the official French open data repo — there are files for the zoom levels between 9 and 14.
- An open endpoint also from the French gouv: openmaptiles. I'll use this file it seems fresher.
If you want to do it for another part in the world you can consider either using OSM QA Tiles which contains the world (32 Go 😅) but only at zoom 12, either use maptiler but depending on your usage it's not free, either search on Google for the mbtiles you need. You can find some stuff on GitHub, or sometimes awesome folks developed tools to get the mbtiles for free out of OSM.
Below how I downloaded the mbtiles file with cURL.
curl -o mbtiles/france.mbtiles https://files.data.gouv.fr/openmaptiles/france-vector.mbtiles
Find the style you want
On my side I knew from the start I wanted a style called Streets in Mapbox. But sadly as Mapbox is a commercial product having access to all the files to display this style is nearly impossible. So we will try to find a replica of the streets style.
If you ever want to use Mapbox style you will need to download your style zip bundle with the API. But for that you'll need a secret token with styles:download scope and a special authorization from their API.
Then after some research on Google I also found that MapTiler is providing some open-source map styles. They are a bit different than the streets one. Thankfully they also propose the streets style in a non open-source fashion. I order to get you'll need to create an account on MapTiler and then you will be able to download the zip bundle.
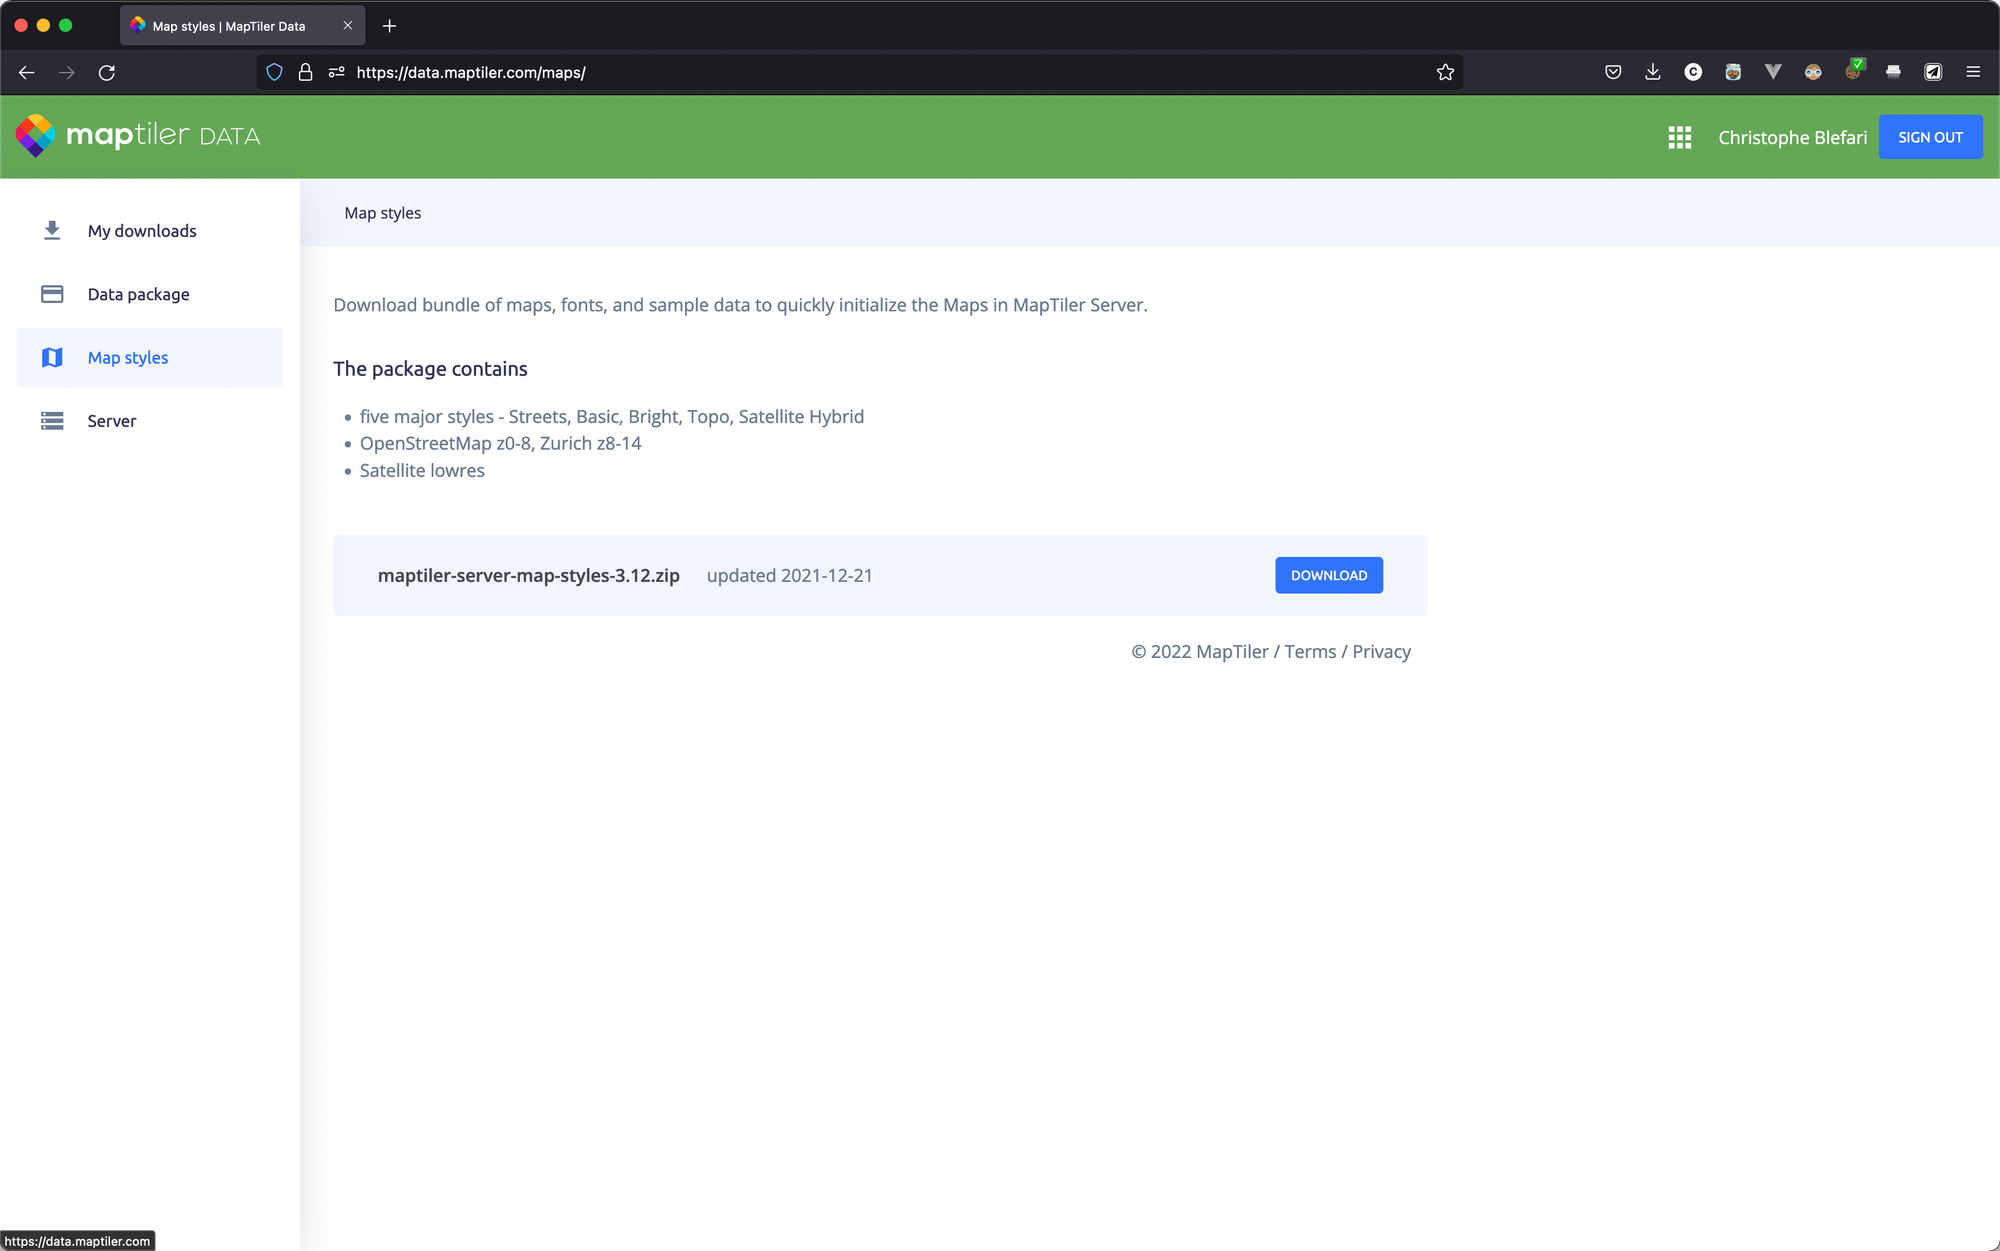
In this zip bundle you will find 5 major styles and other data. In the maps/streets folder there are 5 files. All these files are important to serve the map in the style we would like.
maps/streets
├── sprite.json
├── sprite.png
├── sprite@2x.json
├── sprite@2x.png
└── style.jsonmaps/streets unzipped folder looks likeLast point regarding this style, as it is not the open-source version, in order to use this version you should comply with their license requirements. Which is free for non-commercial use.
I also want to bring your attention on the fact that you can create your own styles with Mapbox Studio, MapTiler or maputnik (which is open-source).
Launch your tile server
You are now ready to launch your tile server. For this part we will use Docker in order to simplify the tile server launch, if you don't know Docker no worries, you just need to install it. Required commands are pretty basic.
As I just said previously we will use tileserver-gl. In order to make our server working we need to write a proper configuration file. So let's do it. Below there is mine. There are 3 important parts in this file:
- First you need to have the folders defined in your
options.paths. - Then you need to point to your style, here I copy the unzipped streets folder from the previous part in my styles directory. You will need to change the
boundsto coordinates corresponding to the initial view you want to have. Here in my case the bounds are centered on France. - The last part is the data key which should point to the mbtiles you downloaded.
Note: the sprites folder is styles. Because we copy sprites from the zip.
{
  "options": {
    "paths": {
      "root": "",
      "fonts": "fonts",
      "sprites": "styles",
      "styles": "styles",
      "mbtiles": "mbtiles"
    },
    "domains": [
      "localhost:8080",
      "127.0.0.1:8080"
    ],
    "formatQuality": {
      "jpeg": 80,
      "webp": 90
    },
    "maxScaleFactor": 3,
    "maxSize": 2048,
    "pbfAlias": "pbf",
    "serveAllFonts": false,
    "serveAllStyles": false,
    "serveStaticMaps": true,
    "tileMargin": 0
  },
  "styles": {
    "streets": {
      "style": "streets/style.json",
      "tilejson": {
        "type": "overlay",
        "bounds": [-6.3, 41.27688, 9.8, 51.32937]
      }
    }
  },
  "data": {
    "france": {
      "mbtiles": "france.mbtiles"
    }
  }
}Once you have the configuration written, you will need 2 last things to do. Small changes in the streets/style.json file and to get the required fonts. Regarding the fonts you can copy the fonts from the unzipped MapTiler bundle. You can copy everything.
Regarding the streets/styles.json file you need to change:
- the glyphs key — find the key in your JSON and replace the
"#".
...
  "glyphs": "{fontstack}/{range}.pbf",
...
2. the sprites key — find the key in you JSON and replace the "#"
...
  "sprite": "streets/sprite",
...
3. and finally the sources key — replace what's inside the key with what's below, note that the name in curly bracket should match the source name in the configuration
...
  "sources": {
    "openmaptiles": {
      "type": "vector",
      "url": "mbtiles://{france}"
    }
  },
...
In the end your working folder should looks like below
/Users/blef/Work/lab/my-tile-server
├── config.json
├── fonts
|  ├── Noto Sans Bold
|  ├── Noto Sans Italic
|  ├── Noto Sans Regular
|  ├── Roboto Condensed Italic
|  ├── Roboto Medium
|  └── Roboto Regular
├── mbtiles
|  └── france.mbtiles
├── sprites
└── styles
   └── streets
      ├── sprite.json
      ├── sprite.png
      ├── sprite@2x.json
      ├── sprite@2x.png
      └── style.json
Now you are setup Launch this Docker command to run your tile server.
docker run --rm -it -v ${PWD}:/data -p 8080:80 maptiler/tileserver-glNavigate to http://localhost:8080 you will see the screen below. If you click on Streets > Viewer you'll be able to see your map.

In order to use it in your application you can click on "YXZ" to have the template link use in your map app. For instance in React Leaflet the tile layer has an URL attribute you can modify. In our case here the link will be http://localhost:8080/styles/streets/{z}/{x}/{y}.png.
Production
As a side note. If you need to put in production your tileserver you will need to use the --public_url option when launching the server. This public URL correspond to the public web URL you will use to reach your instance. Without this your browser will continue to use localhost:8080 and nothing will work.
Conclusion
I hope you enjoyed this tutorial and that you were able to launch your first tile server. This is just a beginning. But it will allow you to become independent from any external provider to display your maps.
In order to deploy it in production you will need to pass different parameters to the Docker command and obviously to create a proper setup, but this is not what this post is about.
I want to obviously thanks the awesome OpenStreetMap community without whom nothing would be possible.